How to Remove Paint From Wood
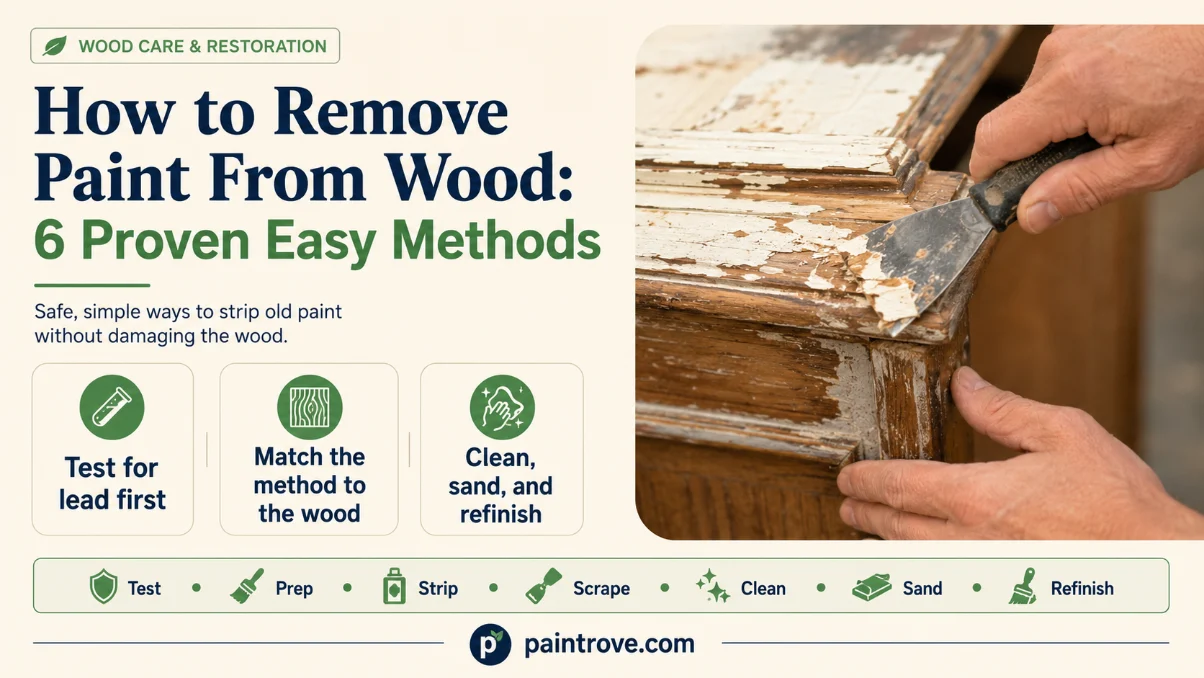
Learning how to remove paint from wood opens up a world of projects, from reviving a thrift-store dresser to exposing beautiful original trim hidden under decades of paint. The good news: you don’t need to be a pro. With the right method and a little patience, you can strip old paint cleanly without damaging the wood underneath.
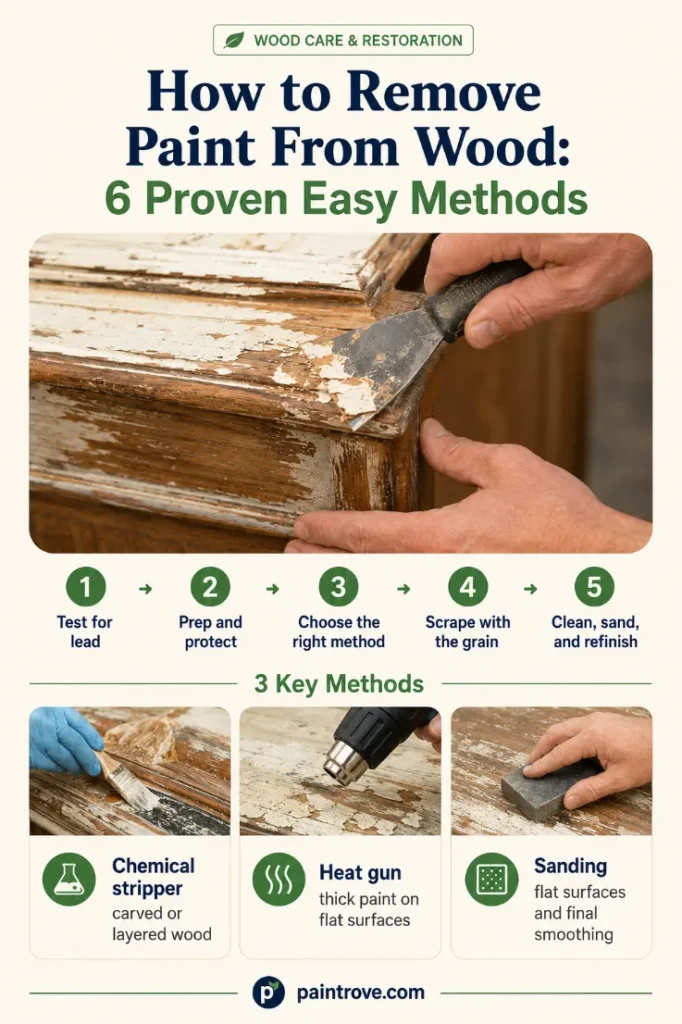
There are six proven ways to do it, and the best one depends on your project. Detailed carvings call for a chemical stripper. Big flat surfaces sand fast. Thick layers melt away under a heat gun.
This guide walks through every method step by step, plus the safety checks that matter most (especially lead paint) and how to finish the bare wood when you’re done.
Quick Answer: How to Remove Paint From Wood
Short on time? Here’s the fast version.
- Test for lead if your home or furniture predates 1978. Use a lead test kit before you start.
- Gear up. Gloves, safety glasses, and a mask or respirator. Work in a ventilated space and cover the area.
- Pick your method:
- Chemical stripper for detailed, carved, or heavily layered wood.
- Heat gun for thick paint on flat surfaces.
- Infrared remover for a safer, low-dust option.
- Sanding for flat surfaces and final smoothing.
- Scraping to lift softened paint.
- Natural removers (vinegar) for light, already-peeling paint.
- Remove the paint, working with the wood grain and using a plastic scraper to avoid gouging.
- Clean off residue, let the wood dry, then sand smooth.
- Refinish with stain, paint, or a clear sealer.
Most projects use a combination of methods. Read on for the full detail.
What’s the Best Way to Remove Paint From Wood?
There’s no single best way to remove paint from wood. The right choice depends on three things: the shape of the piece, how many paint layers there are, and the value of the wood.
- Chemical strippers are best for carved details, intricate shapes, and thick layers. Low mess, low dust.
- Heat guns work fast on thick paint over flat surfaces, but risk scorching.
- Infrared removers run cooler and cleaner, making them safer for lead and delicate trim.
- Sanding suits flat surfaces and final smoothing, but makes a lot of dust.
- Natural methods like vinegar handle light, peeling paint with no harsh chemicals.
Most real projects mix two or three. You might strip the bulk with chemicals, then sand the last traces smooth.
Safety First: Test for Lead Paint
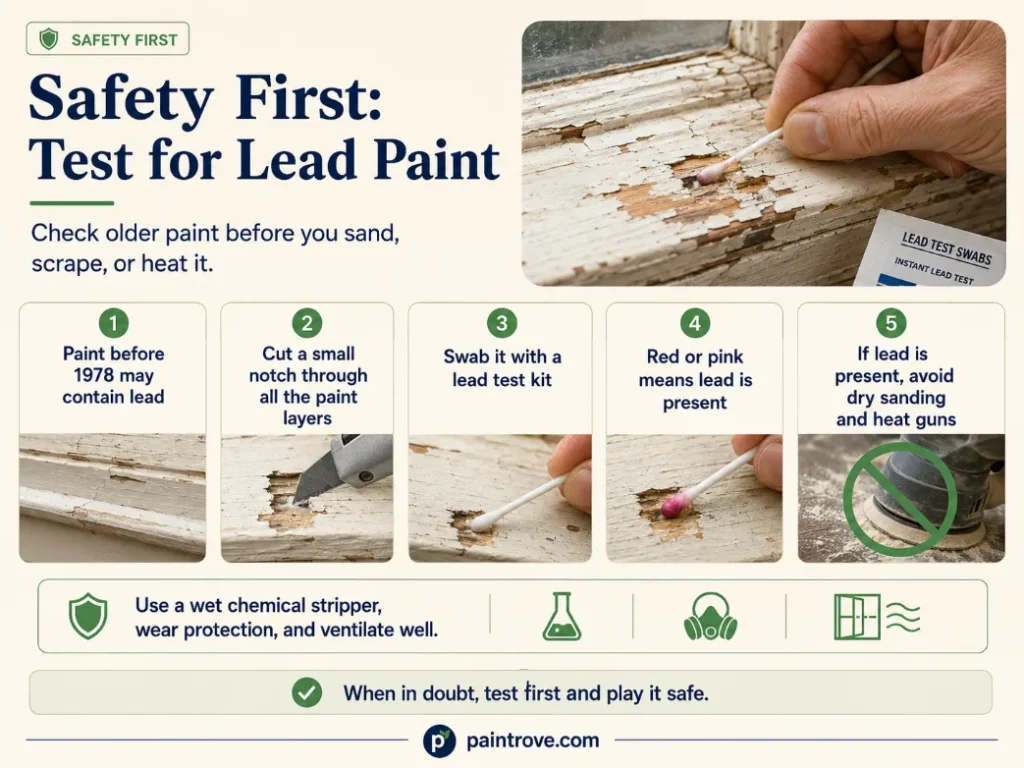
Before anything else, check for lead. Paint made before 1978 may contain lead, which is toxic and especially dangerous to children and pregnant women.
Buy an inexpensive lead test kit (3M LeadCheck swabs are common). Cut a small notch through all the paint layers, swab it, and check the color. If it turns red or pink, lead is present.
If you find lead, do not dry-sand or use a heat gun. Both create toxic dust and fumes. Use a wet chemical stripper instead, follow EPA lead-safe practices, and consider hiring a certified pro. When in doubt, test first and play it safe.
Before You Start: Prep and Tools
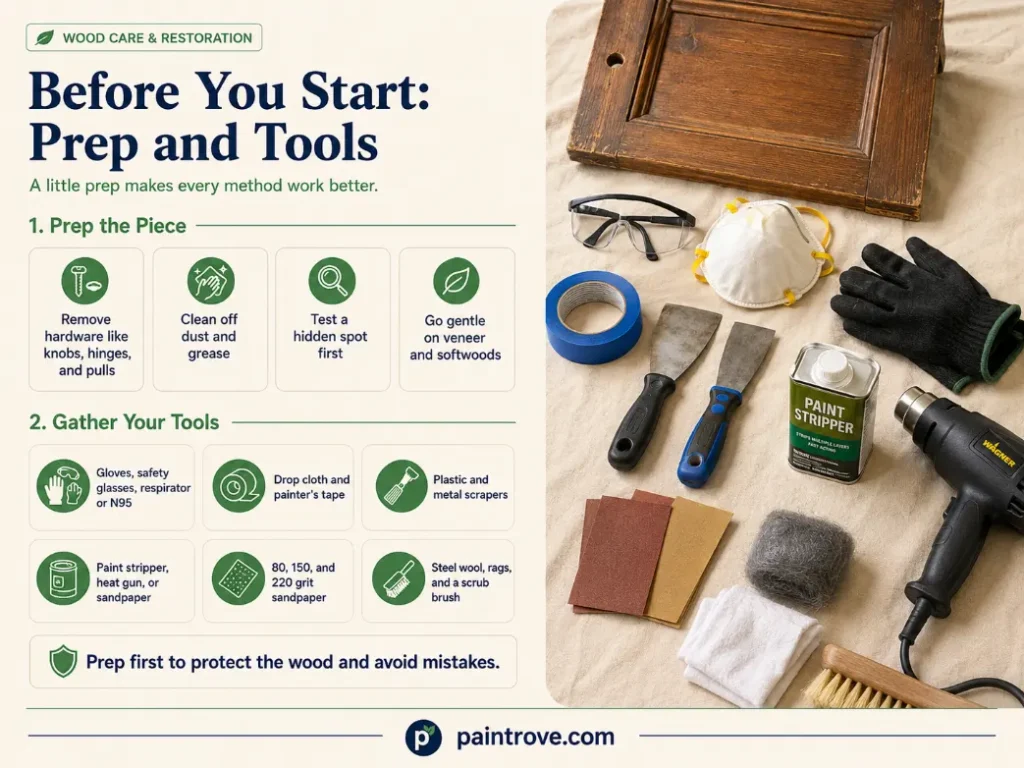
A little prep makes every method work better.
Prep the piece:
- Remove hardware like knobs, hinges, and pulls.
- Clean off dust and grease so the remover can grip.
- Test a hidden spot to see what’s under the paint and how the wood reacts.
- Note your wood type. Softwoods like pine dent easily, hardwoods like oak take more pressure, and veneer is thin, so go gentle.
Gather your tools:
- Lead test kit (older pieces)
- Gloves, safety glasses, respirator or N95 mask
- Drop cloth and painter’s tape
- Plastic and metal scrapers, putty knife
- Paint stripper, heat gun, or sandpaper (80, 150, 220 grit), depending on method
- Steel wool or abrasive pads for crevices
- Rags and a scrub brush
Method 1: Chemical Paint Stripper
Chemical strippers dissolve paint so it wipes or scrapes away. They’re the top pick for carved details, awkward shapes, and many layers of paint, and they create no dust. Modern low-VOC options like Citristrip, Klean-Strip, and Dumond Smart Strip are far less harsh than old-school strippers.
- Work in a ventilated area and protect surrounding surfaces.
- Brush on a thick, generous coat in one direction. Don’t be shy with it.
- For tough, layered paint, cover with plastic wrap or laminated paper and leave it (up to 24 hours) so it can soak through.
- Wait until the paint bubbles and wrinkles, per the label.
- Scrape with a plastic scraper, following the wood grain to avoid gouging. Use steel wool or an abrasive pad for crevices.
- Reapply to stubborn spots.
- Wash off the residue. Water-based strippers rinse with water; solvent types wipe off with mineral spirits or denatured alcohol.
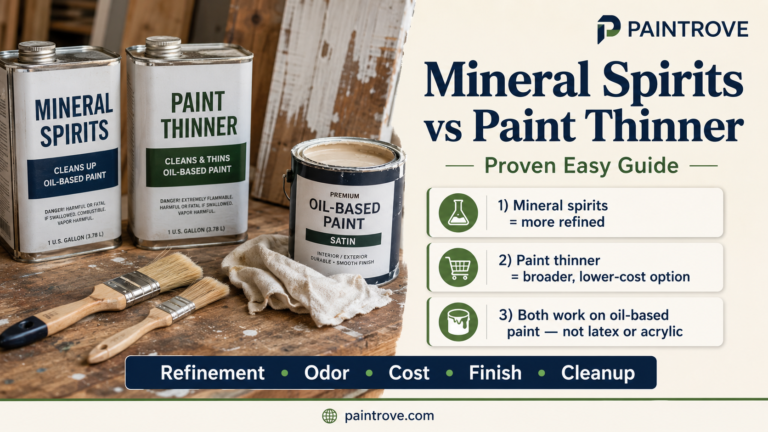
That final wash matters. If you’re unsure which solvent to use, our breakdown of mineral spirits vs paint thinner explains which one cleans residue best and why.
Method 2: Heat Gun
A heat gun blows hot air that softens paint until it blisters and lifts. It’s fast and effective on thick paint and old varnish over flat surfaces.
- Hold the gun a few inches from the surface and keep it moving so you don’t scorch the wood.
- As the paint bubbles, scrape it off with a metal or plastic scraper, working behind the heat.
- Repeat in small sections.
The cautions: heat guns produce fumes, can char the wood, and are a fire risk. Never use one on lead paint, since the heat vaporizes lead. Keep a fan running and a clear workspace.
Method 3: Infrared Paint Remover
An infrared remover is the quieter cousin of the heat gun. It uses infrared heat at a lower temperature to soften paint without the scorching or heavy smoke.
- Let the unit warm up per the instructions.
- Hold it 2 to 3 inches from the surface for about 10 to 15 seconds until the paint loosens.
- Scrape the softened paint away, then move to the next section.
Because it runs cooler and makes less dust than sanding, it’s generally the safer choice for delicate trim and a better option than a heat gun if lead is a concern, though you should still test for lead, wear protection, and ventilate well.
Method 4: Sanding
Sanding grinds paint off and doubles as your final smoothing step. It’s efficient on flat surfaces but creates a lot of dust, so it’s poorly suited to lead paint or indoor work without a vacuum.
- Clean the surface first, then start with coarse 80-grit sandpaper.
- Use steady, even pressure, always sanding with the grain. Let the tool do the work so you don’t gouge.
- Move to 150-grit to clear residue and scratches.
- Finish with fine 220-grit for a smooth surface.
- Brush or vacuum away dust between grits, and wipe with a tack cloth at the end.
A power or orbital sander speeds up big jobs. Hook it to a vacuum to control dust. Avoid sanding veneer aggressively, since the layer is thin.
Method 5: Scraping
Scraping is rarely a standalone method, but it’s essential alongside the others. A good scraper lifts paint that a stripper or heat gun has already softened.
- Choose a plastic scraper or putty knife for delicate wood, a metal one for tougher jobs.
- Hold it at a low angle and push with the grain.
- Keep the edge clean and avoid digging into the wood.
For already-loose, flaking paint, a stiff scrape may remove a lot on its own before you reach for stronger methods. If the paint is only chipping in spots rather than fully coating the piece, our guide on fixing chipped paint may be all you need.
Method 6: Natural Removers (Vinegar and More)
Want to skip harsh chemicals? Natural methods work for light or already-peeling paint, though they’re slower and less powerful.
Vinegar. Mix 1 part white vinegar with 2 parts water and warm it up. Soak a cloth, wring it out, and press it onto the paint. Let it sit at least 15 minutes, then scrape or sand. Vinegar works best as a softener before scraping, not as a one-step stripper.
Rubbing alcohol and lemon juice. For fresh or uncured paint, mix 3 parts rubbing alcohol with 1 part lemon juice, apply with a cloth, wait about five minutes, then scrub gently.
Baking soda. Better suited to metal hardware (boiled in a baking soda solution) than to wood, since prolonged water can damage wood fibers.
These home remedies are gentler on you and the environment, but set your expectations: thick, modern paint usually needs a stripper or heat.
Removing Paint From Outdoor Wood and Decks
Outdoor wood like decks, fences, and garden furniture has its own approach.
For peeling exterior paint, start with a stiff brush or a pressure washer on a low setting. Keep the nozzle back from the surface, since too much pressure gouges soft wood. For stuck-on paint, follow up with a gel stripper that clings to vertical and slatted surfaces.
Once stripped and dry, outdoor wood needs a durable finish to survive the weather. If you’re working with a deck or fence built from treated lumber, our guide on painting pressure treated wood covers the special drying and prep steps those boards need before any coating.
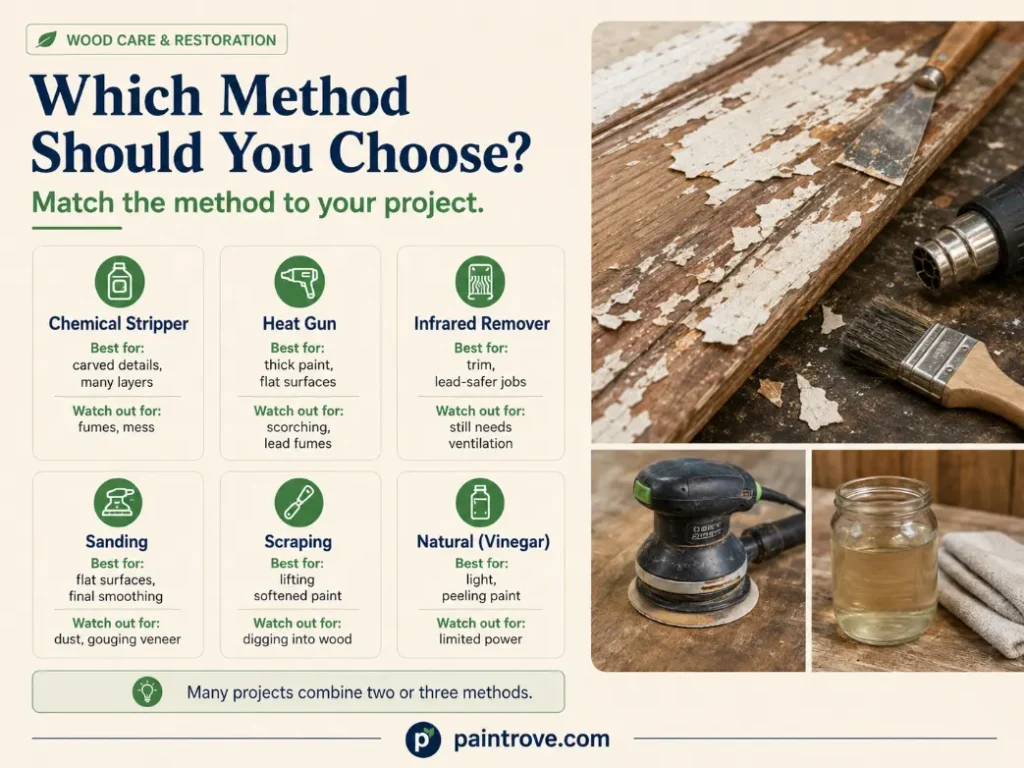
Which Method Should You Choose?
Use this quick reference to match the method to your project.
| Method | Best For | Speed | Watch Out For |
|---|---|---|---|
| Chemical stripper | Carved details, many layers | Slow | Fumes, mess, disposal |
| Heat gun | Thick paint, flat surfaces | Fast | Scorching, lead fumes |
| Infrared remover | Trim, lead-safer jobs | Medium | Still needs ventilation |
| Sanding | Flat surfaces, final smoothing | Medium | Dust, gouging veneer |
| Scraping | Lifting softened paint | Fast | Digging into wood |
| Natural (vinegar) | Light, peeling paint | Slow | Limited power |
When in doubt, combine methods: strip the bulk, then sand the rest smooth.
Cleaning and Finishing the Bare Wood
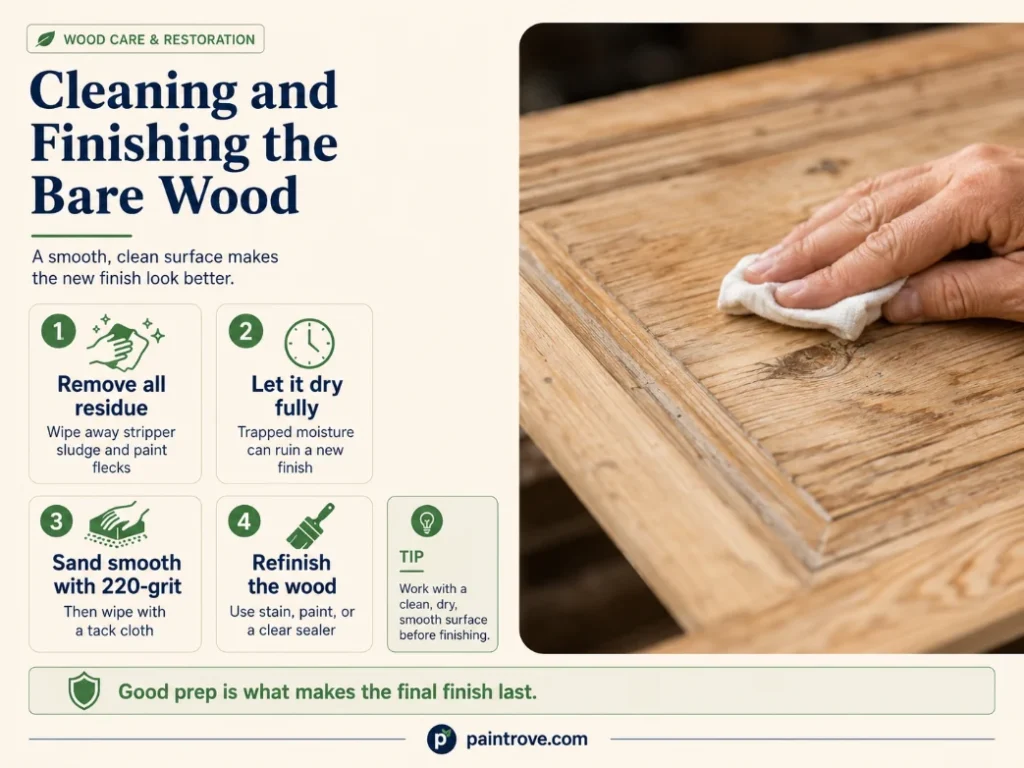
Removing the paint is only half the job. A clean, smooth surface is what makes the new finish look great.
- Remove all residue. Wipe away every trace of stripper sludge and paint flecks with the recommended solvent or warm water.
- Let it dry fully. Moisture trapped in the wood ruins a new finish.
- Sand smooth. A light pass with 220-grit evens everything out. Wipe with a tack cloth.
- Refinish. Apply stain, paint, or a clear sealer like polyurethane to protect the wood.
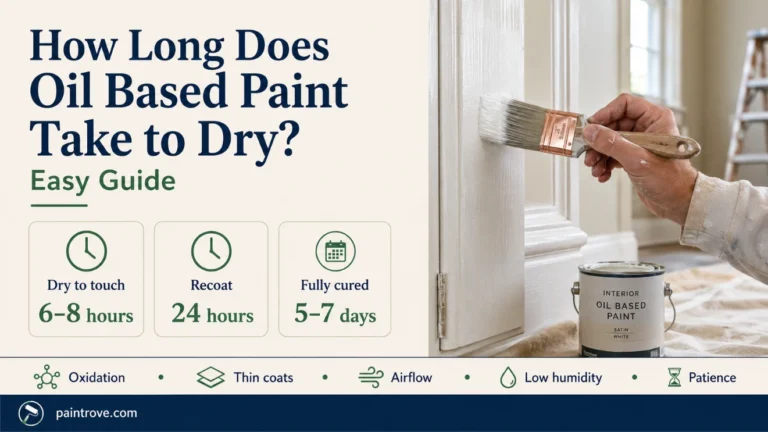
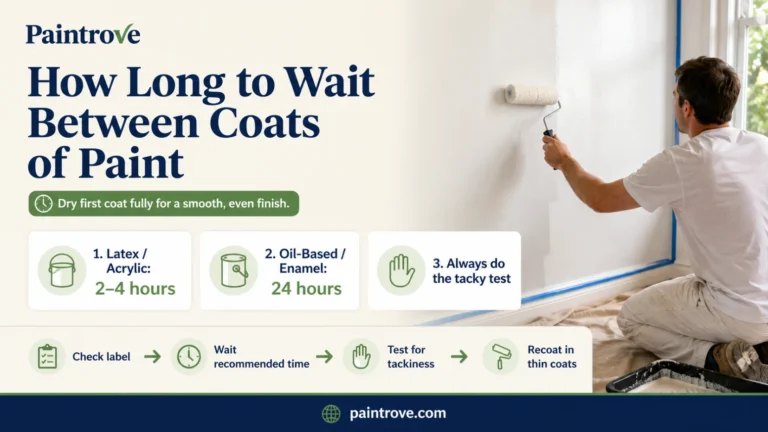
If you’d rather not strip at all, remember you have another option: in many cases you can prep and paint right over the existing stained or finished wood with a bonding primer, no stripping required. And once you do apply a fresh finish, our guide on how long paint takes to dry helps you time your coats so the result lasts.
Mistakes to Avoid
Steer clear of these and you’ll protect both the wood and yourself.
- Don’t skip the lead test on older pieces. It’s the most important step.
- Don’t dry-sand or heat-gun lead paint. Use wet chemical methods instead.
- Don’t use a metal scraper on delicate wood. Plastic prevents gouges.
- Don’t rush the stripper. Let it fully soften the paint before scraping.
- Don’t work without ventilation. Strippers and heat both release fumes.
- Don’t skip the residue wash. Leftover stripper or dust wrecks the new finish.
- Don’t sand across the grain. It leaves scratches that show through paint and stain.
FAQs
What is the easiest way to remove paint from wood?
For most people, a chemical paint stripper is the easiest way to remove paint from wood, especially on detailed or heavily painted pieces. You brush it on, let it soften the paint, and scrape it off with little dust or effort. Modern low-VOC strippers like Citristrip make the job far less harsh than older products.
How do you remove paint from wood without sanding?
Use a chemical stripper, a heat gun, or an infrared remover. All three lift paint without sanding. Chemical strippers are best for detailed or layered pieces, while heat and infrared work well on flat surfaces. For light, peeling paint, a warm vinegar solution can soften it enough to scrape away.
Does vinegar remove paint from wood?
Vinegar can soften light or already-peeling paint, but it won’t strip thick, modern coats on its own. Warm a mix of one part vinegar to two parts water, soak a cloth, and press it on for at least 15 minutes before scraping. It works best as a gentle pre-treatment ahead of scraping or sanding.
How do I know if my old paint has lead?
Test it with a lead test kit, available at hardware stores. Cut a small notch through the paint layers and swab it. If the swab turns red or pink, lead is present. Any paint applied before 1978 should be tested before you sand, heat, or scrape it.
Should I sand or strip paint off wood?
Strip when the piece has detailed carving, many paint layers, or possible lead, since stripping makes less dust and protects the wood. Sand when you have flat surfaces, fewer layers, and no lead concern. Many projects use both: strip the bulk of the paint, then sand the surface smooth before refinishing.
Can you remove paint from wood with a heat gun safely?
Yes, if you take precautions. Keep the gun moving to avoid scorching, hold it a few inches away, ventilate the space, and keep the area clear of anything flammable. Never use a heat gun on lead paint, because the heat releases toxic lead fumes. An infrared remover is a cooler, safer alternative.
What removes paint from wood furniture without damaging it?
A gentle chemical stripper paired with a plastic scraper is the safest bet for furniture. Work with the grain, avoid metal scrapers on soft or veneered wood, and test a hidden spot first. Finish with a light 220-grit sanding. Go slow on veneer, since the top layer is very thin.
How do you clean wood after removing paint?
Wipe off all stripper residue and paint flecks with the solvent recommended on the product, or warm water for water-based strippers. Let the wood dry completely, then sand lightly with 220-grit and wipe with a tack cloth. The wood is then ready for stain, paint, or a clear protective finish.
Final Thoughts
Now that you know how to remove paint from wood, that painted-over furniture or trim doesn’t have to stay hidden. Start by testing for lead, gear up, and pick the method that fits your project: chemical strippers for detail, heat or infrared for thick layers, sanding for flat surfaces, and vinegar for light, peeling paint. Most jobs come out best with a combination.
Take your time, work with the grain, and clean the wood well before refinishing. Do that, and you’ll uncover smooth, beautiful wood that’s ready for a fresh stain, a new coat of paint, or a clear finish that lets the grain shine.