Can You Paint Over Stained Wood? Proven Easy Steps
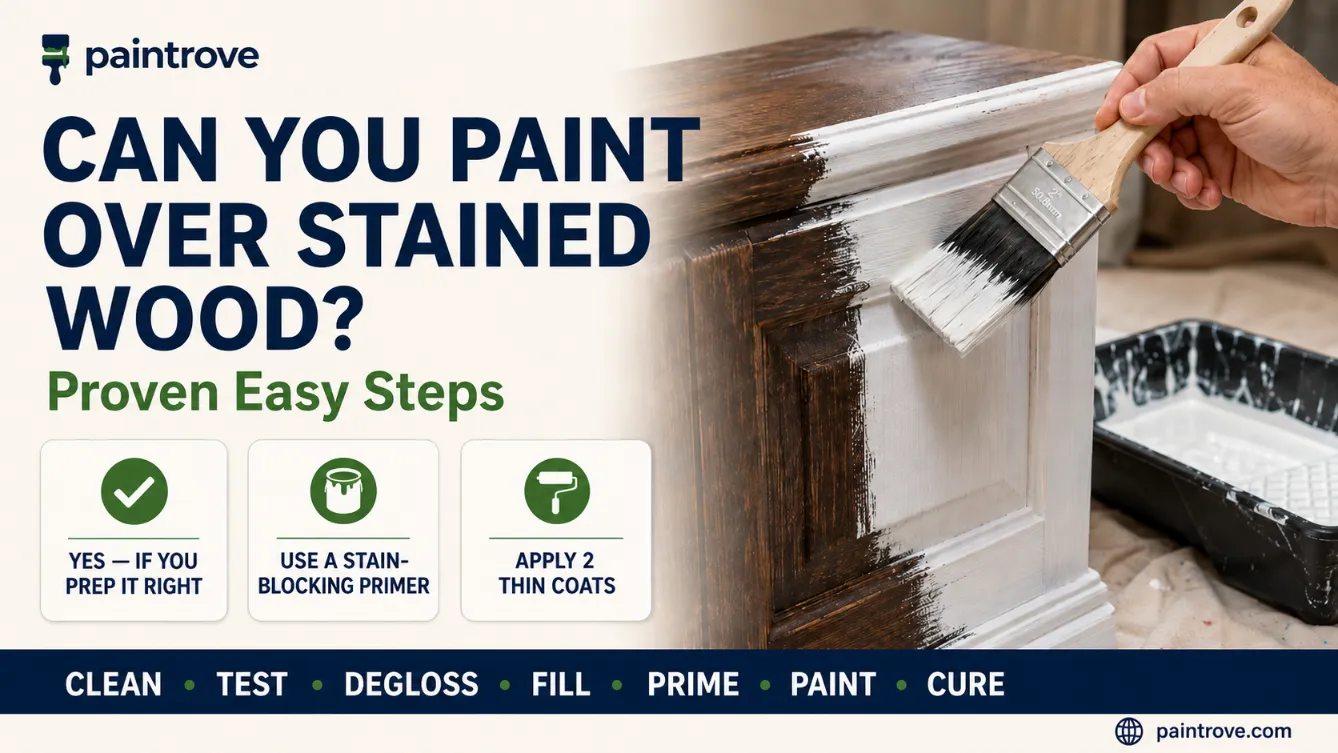
Can you paint over stained wood? Yes, you absolutely can, as long as you clean it, prime it with a stain-blocking primer, and use the right paint. That primer step is the secret. Skip it, and the old stain can bleed through and ruin your fresh finish.
If you’ve got dark trim, a tired dresser, or stained cabinets you’re itching to brighten up, you’re in the right place. Painting over stain is the fastest, cheapest way to transform wood without replacing it. This guide walks you through every step, from testing your finish to the final coat, so you get a smooth, durable result that lasts.
Let’s turn that stained wood into something new.
Quick Answer: How to Paint Over Stained Wood
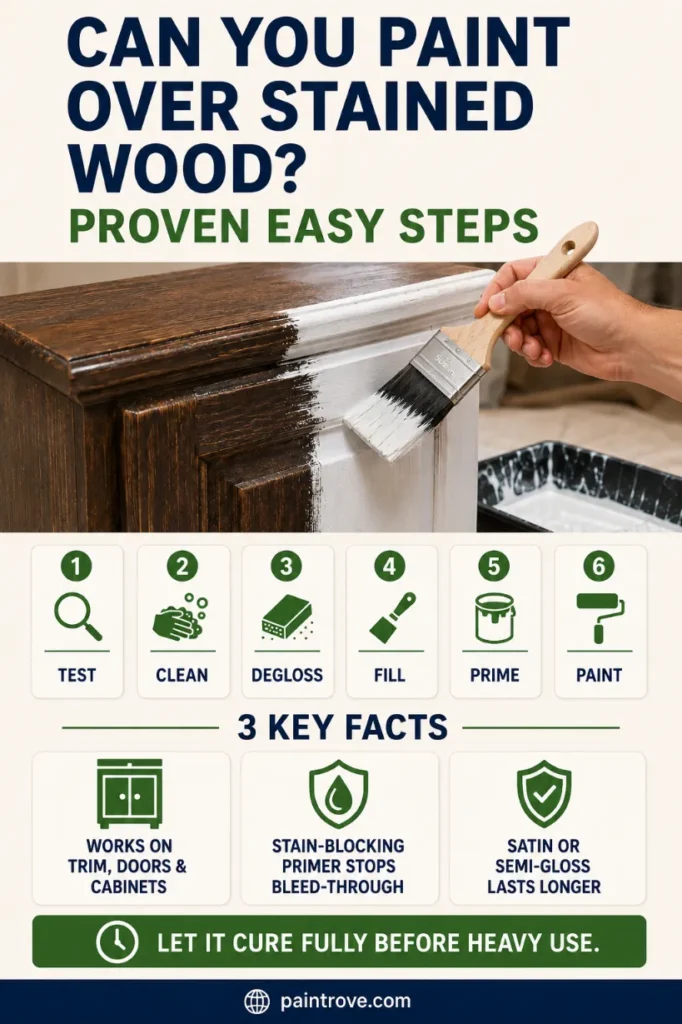
Short on time? Here’s the whole process in seven steps.
- Clean the wood. Scrub off grime, hand oils, and polish with a degreaser.
- Test the finish. Use the denatured alcohol test to learn if the old stain is oil- or water-based.
- Degloss or scuff-sand. Break the shine so primer can grip. Light 180-grit sanding or a liquid deglosser works.
- Fill and caulk. Fill nail holes with wood filler and caulk open seams.
- Prime with a stain-blocking primer. This blocks tannin bleed and helps paint stick. Let it cure.
- Apply two thin coats of paint. Sand lightly between coats for a glass-smooth finish.
- Let it cure fully before heavy use.
That’s it. Read on for the full detail, the best products, and how to handle tricky surfaces.
Can You Paint Over Stained Wood? The Short Answer
Yes. Every type of stained wood can be painted, from hardwoods like oak to softwoods like pine, and even doors, trim, cabinets, and furniture. The finish you can feel the grain through (a penetrating stain) and the smooth, sealed kind (a film-forming finish like varnish or polyurethane) can both be painted over.
The catch is prep. Paint won’t grip a slick, glossy, or dirty surface on its own. With the right cleaning, priming, and a light scuff, though, paint bonds beautifully and lasts for years.
First, Identify Your Stain and Finish
Before you buy anything, figure out what you’re working with. This one step prevents most paint failures.
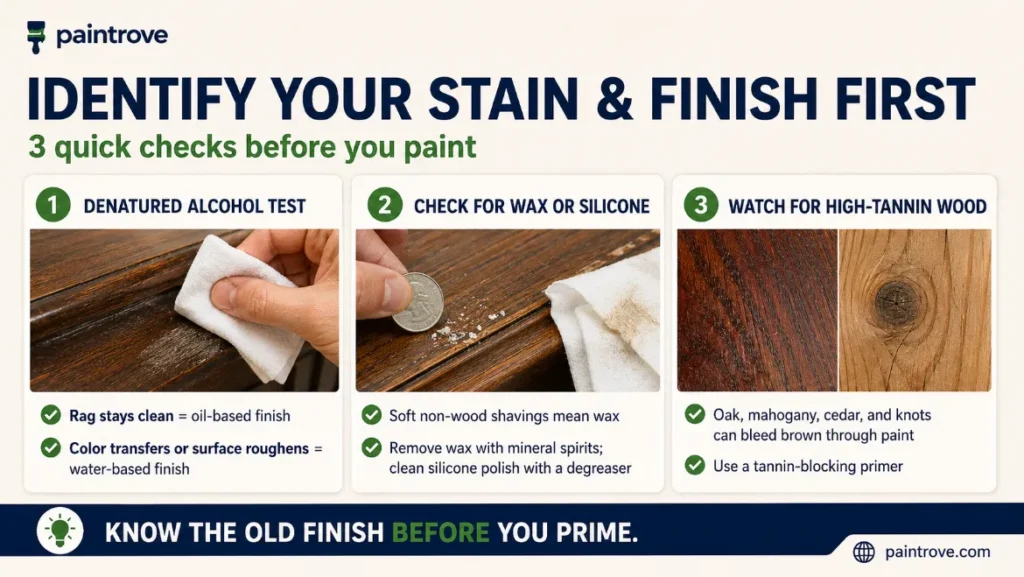
The Denatured Alcohol Test
Dampen a clean white rag with denatured alcohol and rub it over the stained wood.
- If the rag stays clean and the surface stays smooth, you have an oil-based finish.
- If color comes off on the rag or the surface feels slightly rough, you have a water-based finish.
Why it matters: an oil-based stain can be covered with oil-based or latex products, but a water-based stain is best covered with latex. A good bonding primer makes either one paintable, so this test mainly tells you what to expect.
Check for Wax or Silicone Polish
Some older furniture has a wax coating or silicone polish (think lemon-scented sprays). Paint won’t stick to either.
To spot wax, gently scrape the surface with a coin. Soft, non-wood shavings mean wax. Remove wax with mineral spirits before you do anything else. If you suspect silicone polish, clean it off with a degreaser first.
Watch for High-Tannin Wood
Woods like oak, mahogany, and cedar are high in tannins, the natural compounds that cause brown bleed-through stains in fresh paint. Knots do the same thing. These woods almost always need a tannin-blocking primer, especially under white or light colors that show bleed worst.
Why Primer Is the Most Important Step
Here’s the single biggest reason paint-over-stain jobs fail: skipping or using the wrong primer. The old stain and its oils react with new paint and bleed through as ugly yellow or brown shadows.
A stain-blocking primer acts like a sealed barrier between the old finish and your new paint. Pros sometimes call it a sacrificial coat. It stops tannins and dyes from migrating up, and it gives the paint a surface to grab.
If tannin bleeds through the first coat of finish paint, it will bleed through every coat after it. The primer is what stops it. Never count on regular paint to do the primer’s job.
Do You Have to Sand? Painting Over Stain Without Heavy Sanding
Good news: you usually don’t need to sand down to bare wood. Modern products make light prep enough for great adhesion.
You can skip heavy sanding when:
- The wood is in good shape with no peeling finish.
- You use a quality bonding primer.
- You break the gloss with a liquid deglosser or a light scuff-sand.
A liquid deglosser chemically etches a glossy finish with no dust. A quick scuff with 180-grit sandpaper or a non-woven abrasive pad creates micro-scratches that grip primer. Either way, you create “tooth” so paint can hold.
What you should never skip is prep itself. Clean, degloss or scuff, and prime. Skip those, and the paint will peel, flake, or bleed fast.
Tools and Materials You’ll Need
Gather these before you start so the job flows.
- Degreaser or TSP alternative, plus clean rags
- Denatured alcohol (for the finish test)
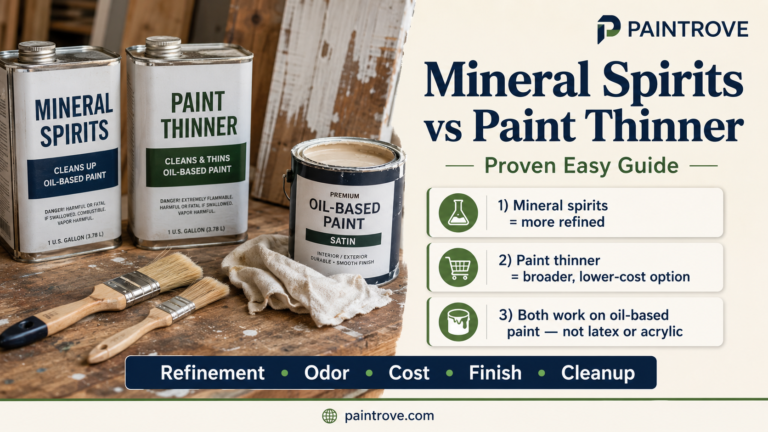
- Mineral spirits (only if removing wax)
- Liquid deglosser and/or 180-grit and 220-grit sandpaper
- Tack cloth and a vacuum
- Wood filler and paintable caulk
- Stain-blocking bonding primer
- Quality paint rated for finished wood
- Brush, mini roller, and painter’s tape
Step-by-Step: How to Paint Over Stained Wood
Follow these steps in order for a factory-smooth, chip-resistant finish.
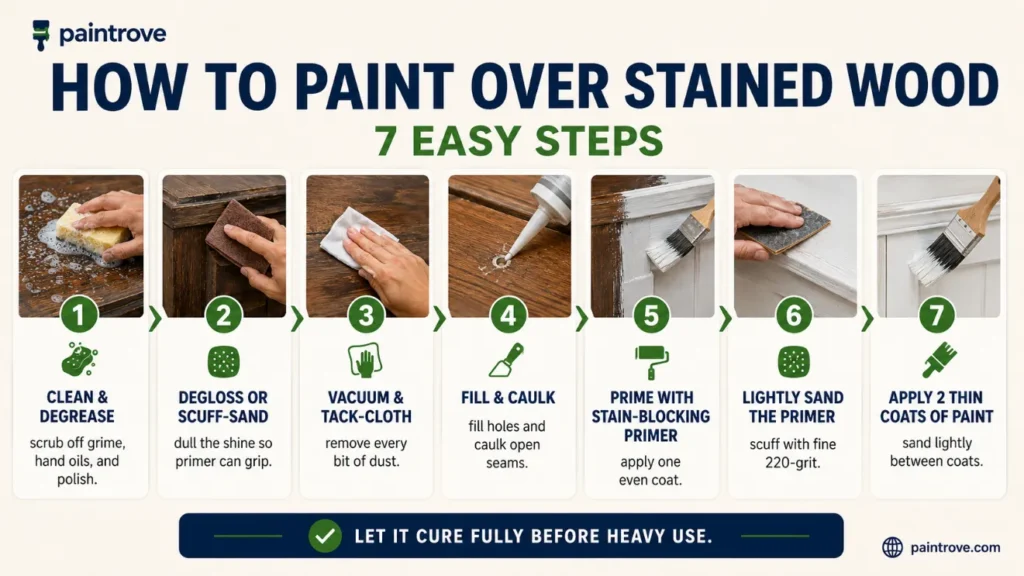
Step 1: Clean and degrease
Stained wood holds years of polish and hand oils. Scrub the surface with a mild degreaser, then rinse and let it dry fully. Clean wood is the foundation of good adhesion.
Step 2: Degloss or scuff-sand
Wipe on a liquid deglosser to cut the shine, or scuff-sand with 180-grit to create tooth. You’re not removing the finish, just dulling it so primer can bite.
Step 3: Vacuum and tack-cloth
Vacuum up all sanding dust, then wipe with a tack cloth until the surface feels clean and almost squeaky. Dust ruins adhesion.
Step 4: Fill and caulk
Fill nail holes and dents with wood filler. Once dry, sand flush and wipe clean. Caulk any open seams where trim meets the wall for a seamless edge.
Step 5: Prime with a stain-blocking primer
Apply one solid, even coat of bonding primer. This is the game-changer for stained trim and glossy polyurethane doors. Let it cure per the label, ideally 24 hours and no less than 4 to 8 hours. Spot-prime any knots or dark shadows with a second pass.
Step 6: Lightly sand the primer
Once cured, scuff the primed surface with used 220-grit sandpaper or a fine sanding sponge. Wipe clean. This makes the topcoat lay down ultra-smooth.
Step 7: Apply two coats of paint
Brush the insets, edges, and detailed areas, then roll or spray the flat areas to avoid brush marks. Work panel by panel and keep a wet edge. Let the first coat dry, sand lightly, then apply the second.
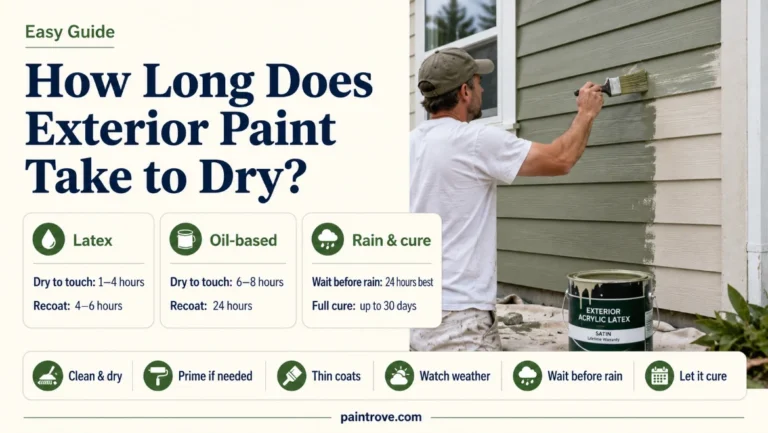
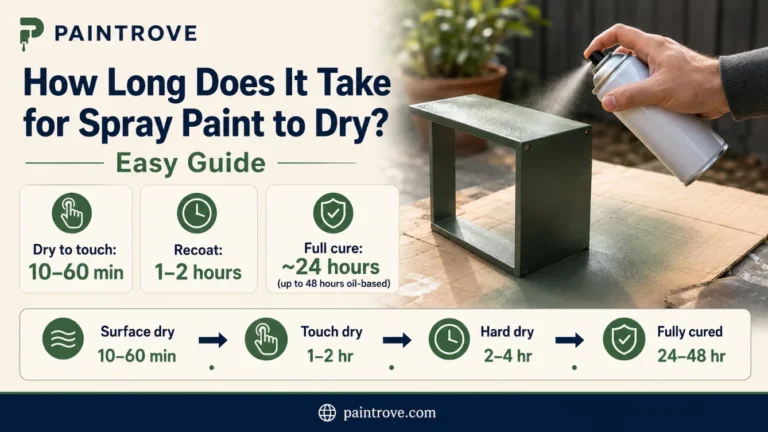
Give the finish time to dry between coats. Our guide on how long paint takes to dry helps you time it, and if you’re spraying primer or paint, how long spray paint takes to dry covers recoat windows for aerosols and sprayers.
Step 8: Let it cure
Paint feels dry long before it’s hard. Let trim, doors, and furniture cure fully (often 24 hours or more) before heavy handling so you don’t dent the finish.
Best Primer and Paint for Stained Wood
Choosing the right products makes everything easier.
Best Primers
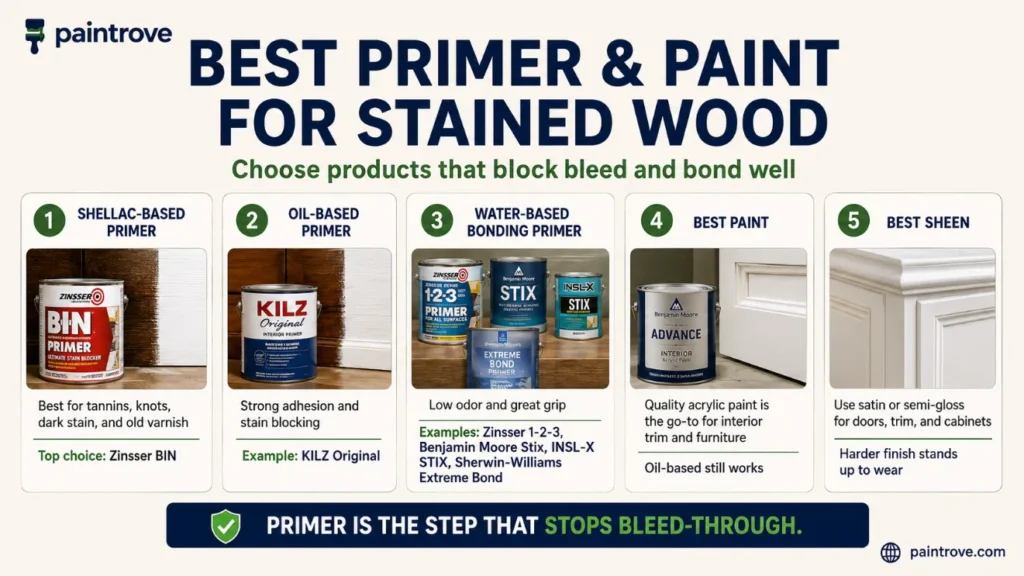
- Shellac-based primer (Zinsser BIN): the top choice for sealing tannins, dyes, and old varnish. Best for oak, mahogany, knots, and dark stain.
- Oil-based primer (KILZ Original): a proven adhesion champion with strong stain blocking.
- Water-based bonding primer (Zinsser 1-2-3, Benjamin Moore Stix, INSL-X STIX, Sherwin-Williams Extreme Bond): low odor and great grip for lighter-duty, non-bleeding surfaces. Test first if tannin bleed is a concern.
Best Paint
Use any quality paint labeled for finished wood surfaces. Water-based (acrylic) paint is now the go-to for interior trim and furniture because it’s low odor and dries fast, though oil-based still works. For doors, trim, and cabinets, choose a satin or semi-gloss sheen. The harder finish stands up to cleaning and daily wear. Benjamin Moore and Sherwin-Williams both make excellent trim and cabinet enamels.
Painting Stained Trim, Doors, and Windows
These high-traffic surfaces follow the same process with a few extra notes.
Stained trim and baseboards. Clean well to remove furniture wax and dust, scuff-sand, caulk gaps, then prime and paint. A semi-gloss holds up to scuffs.
Stained doors. Glossy polyurethane doors need a strong bonding primer like BIN. Brush the panel insets and curves first, then roll or spray the flats so brush marks don’t show.
Stained wood windows and frames. Prime to block bleed, then use a durable enamel. Tape glass edges for clean lines, and don’t paint windows shut. (For vinyl or aluminum frames, you’d use a different bonding primer made for those materials; our guide on painting vinyl siding walks through prep for vinyl surfaces.)
Special Cases to Know About
Some projects need a little extra attention.
Dark stained wood. Dark stain shows bleed-through badly under light paint. Use a shellac-based primer and consider two primer coats. A second coat of shellac blocks tannins far better than a second coat of finish paint ever will.
Gel stain. Gel stain sits more on the surface, so it usually paints over well after a good scuff and a bonding primer.
Stained cabinets. Kitchen cabinets carry grease and cooking oils. Degrease thoroughly first, then prime and paint with a tough cabinet enamel. Sand between coats for a durable, smooth result.
Stained decks and exterior wood. Outside, use exterior-rated bonding primer and paint, and address any moisture or peeling first. If your deck or fence is newer outdoor lumber, our guide on painting pressure treated wood explains the extra drying time those boards need before any coating. Solid-color stains and durable exterior paints both work over old solid stain with proper prep.
Common Problems and How to Avoid Them
Most issues trace back to prep. Here’s what to watch for.
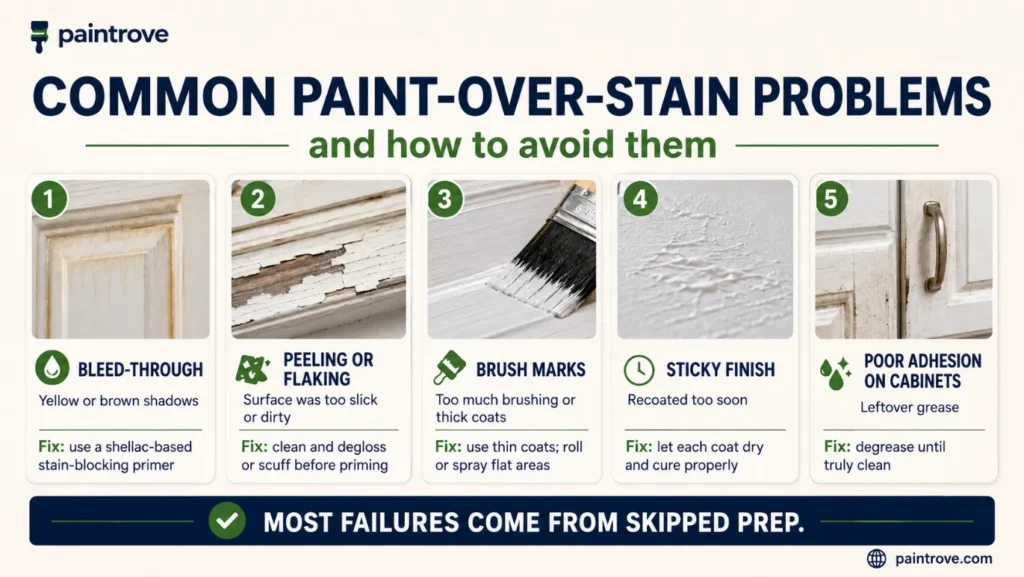
- Bleed-through (yellow or brown shadows): the stain wasn’t sealed. Use a shellac-based stain-blocking primer.
- Peeling or flaking: the surface was too slick or dirty. Clean and degloss or scuff before priming. If paint has already started lifting off a nearby wall, our guide on fixing chipped paint on a wall shows how to repair it.
- Brush marks: too much brushing or thick coats. Use thin coats, tip off lightly, or roll and spray flats.
- Sticky finish: recoated too soon. Let each coat dry and cure properly.
- Poor adhesion on cabinets: leftover grease. Degrease until truly clean.
Mistakes to Avoid
Steer clear of these and your finish will last.
- Don’t skip the primer. It’s the one step you can’t cut on stained wood.
- Don’t skip cleaning. Hand oils, wax, and silicone polish wreck adhesion.
- Don’t paint over wax or silicone without removing it first.
- Don’t rush the coats. Give primer and paint time to dry and cure.
- Don’t use flat paint on trim or doors. Satin or semi-gloss wears far better.
When you’re done, clean your brushes right away so they’re ready next time. Our guide on how to clean paint brushes shows you how. And to keep leftover primer and paint usable for touch-ups, see how long paint lasts.
FAQs
Can you paint over stained wood without sanding?
Yes, you can paint over stained wood without heavy sanding if you prep it right. Clean the surface, apply a liquid deglosser to cut the shine, and use a quality bonding primer. A light scuff with 180-grit still improves adhesion, but you can skip sanding down to bare wood. Never skip cleaning and priming.
Do you need primer to paint over stained wood?
Yes. Primer is the most important step when painting over stained wood. A stain-blocking primer seals the old stain and tannins so they don’t bleed through your new paint, and it gives the paint a surface to grip. Shellac-based primers like Zinsser BIN block tannins best.
What is the best primer for painting over stained wood?
Shellac-based primer (such as Zinsser BIN) is the best for blocking tannins and old varnish, especially on dark or high-tannin woods like oak. For a lower-odor option, a water-based bonding primer like INSL-X STIX or Benjamin Moore Stix gives strong adhesion and stain blocking on non-bleeding surfaces.
Will stain bleed through paint?
It can, if you don’t seal it first. The oils and tannins in stained wood can migrate up and create yellow or brown shadows in your fresh paint. A stain-blocking primer prevents this. If bleed shows through the first finish coat, it will show through every coat after, so block it at the primer stage.
Can you paint over dark stained wood with white?
Yes, but dark stain shows bleed-through worst under white paint. Use a shellac-based stain-blocking primer, and consider two coats of primer before painting. Then apply two thin coats of quality white paint, sanding lightly between coats for a clean, even finish.
What kind of paint do you use over stained wood?
Use any quality paint labeled for finished wood surfaces. Water-based acrylic paint is popular for interior trim, doors, and furniture because it’s low odor and dries fast, though oil-based works too. Choose a satin or semi-gloss sheen for trim, doors, and cabinets, since it’s more durable and easy to clean.
How do you paint over stained wood cabinets?
Degrease the cabinets thoroughly to remove cooking grease, then scuff-sand or degloss. Apply a bonding stain-blocking primer and let it cure. Finish with two thin coats of a durable cabinet enamel, sanding lightly between coats. Proper degreasing and priming are key to a finish that won’t peel.
Can you paint over varnished or polyurethane wood?
Yes. Clean the surface, scuff-sand or apply a liquid deglosser to break the gloss, and use a strong bonding primer like shellac-based BIN. Then paint as usual. Glossy sealed finishes need that deglossing and bonding-primer step so the new paint can grip.
Final Thoughts
So, can you paint over stained wood? Yes, and it’s one of the most rewarding upgrades you can make. The whole job comes down to prep: clean off oils and wax, test your finish, break the gloss, and prime with a stain-blocking primer before you paint. That primer is what stops bleed-through and locks everything in.
Take your time on the prep, use quality products, and let each coat cure. Do that, and your stained trim, doors, cabinets, or furniture will come out looking smooth, bright, and built to last.